Introduction
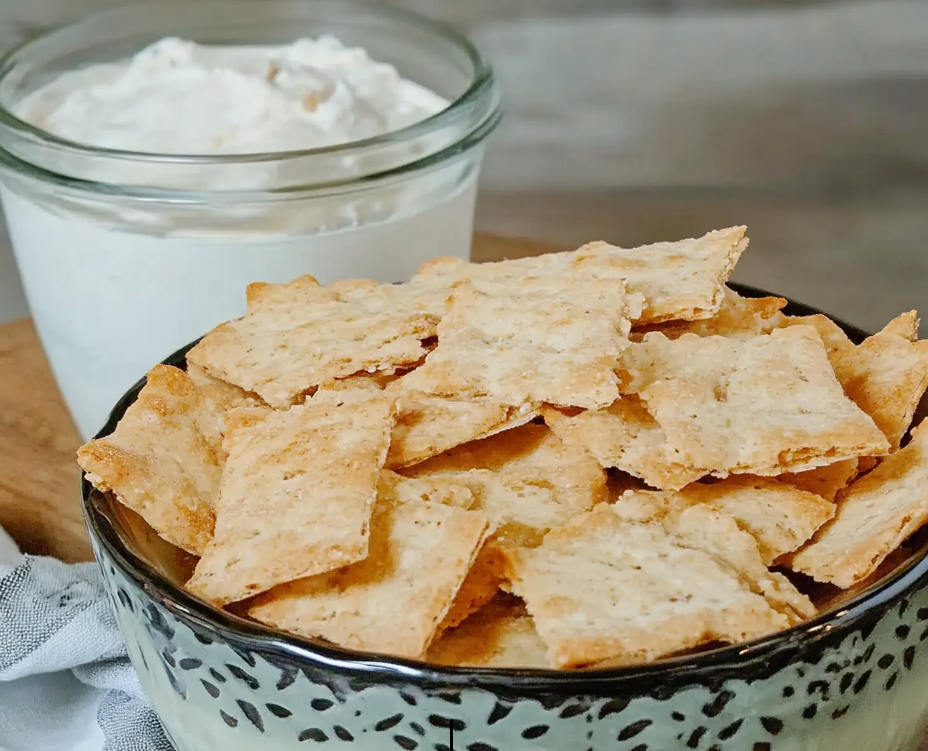
Every time I whip up these Sourdough Discard Cheddar Crackers, it takes me back to my childhood kitchen, where the aroma of melted cheddar filled the air as my mom baked cheesy snacks. These crackers have become a favorite in my house, and I know they’ll bring that same warmth and nostalgia to your kitchen too! There’s something magical about turning sourdough discard into golden, crispy bites of perfection. I promise once you try them, they’ll become your go-to crunchy treat!
Ingredients of Sourdough discard cheddar crackers
Here’s what you’ll need to create these irresistible crackers:
| Ingredient | Amount |
|---|---|
| Sourdough starter discard (100% hydration) | 340g |
| Butter, melted and cooled 🧈 | 56g |
| Sharp cheddar cheese, grated 🧀 | 4 oz |
| Salt | 4g |
Personal Note: I like using aged sharp cheddar for an extra punch of flavor. If you want to experiment, swap in a mix of cheddar and Parmesan for a nutty twist!
Step-by-Step Guide to Make Sourdough Discard Cheddar Crackers
Step 1: Preheat the Oven
Preheat your oven to 300°F (150°C). Trust me, the low temperature is key to achieving those perfectly crisp crackers.

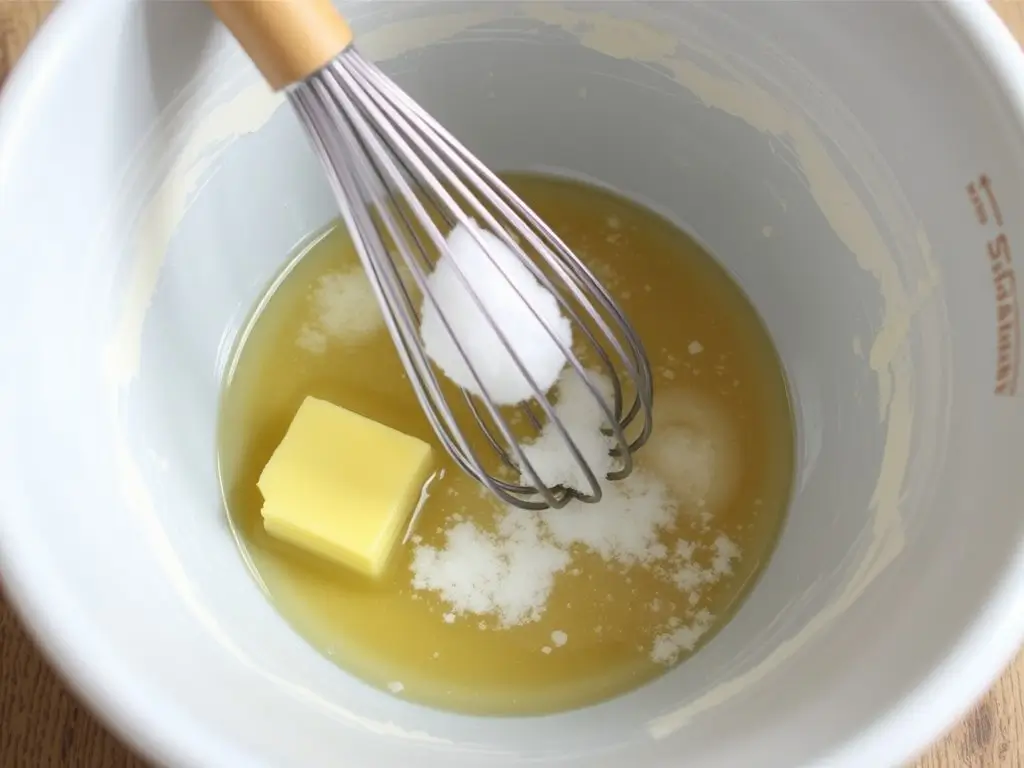
Step 2: Mix the Wet Ingredients
In a bowl, whisk together the sourdough discard, melted butter, and salt. Mix until there’s no greasy residue—it should be smooth and well-blended.
Step 3: Add the Cheddar Cheese
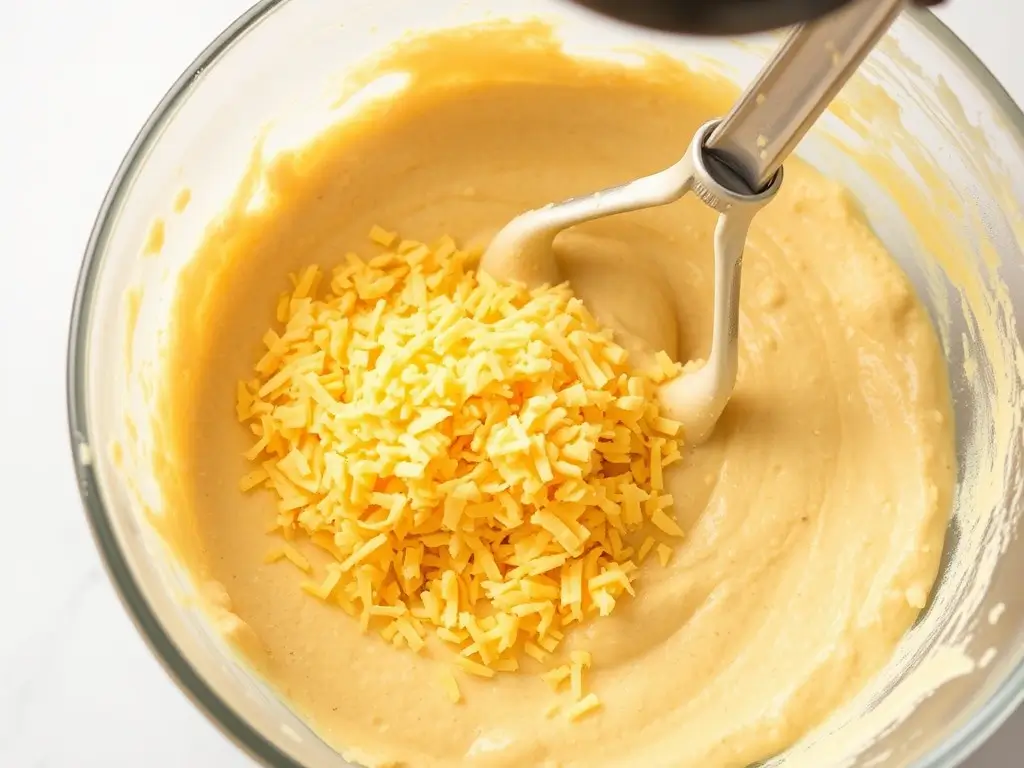
Add the grated cheddar cheese to the mixture and stir until it’s evenly combined. Every bit of batter should have that cheesy goodness!
Step 4: Prepare the Baking Pan
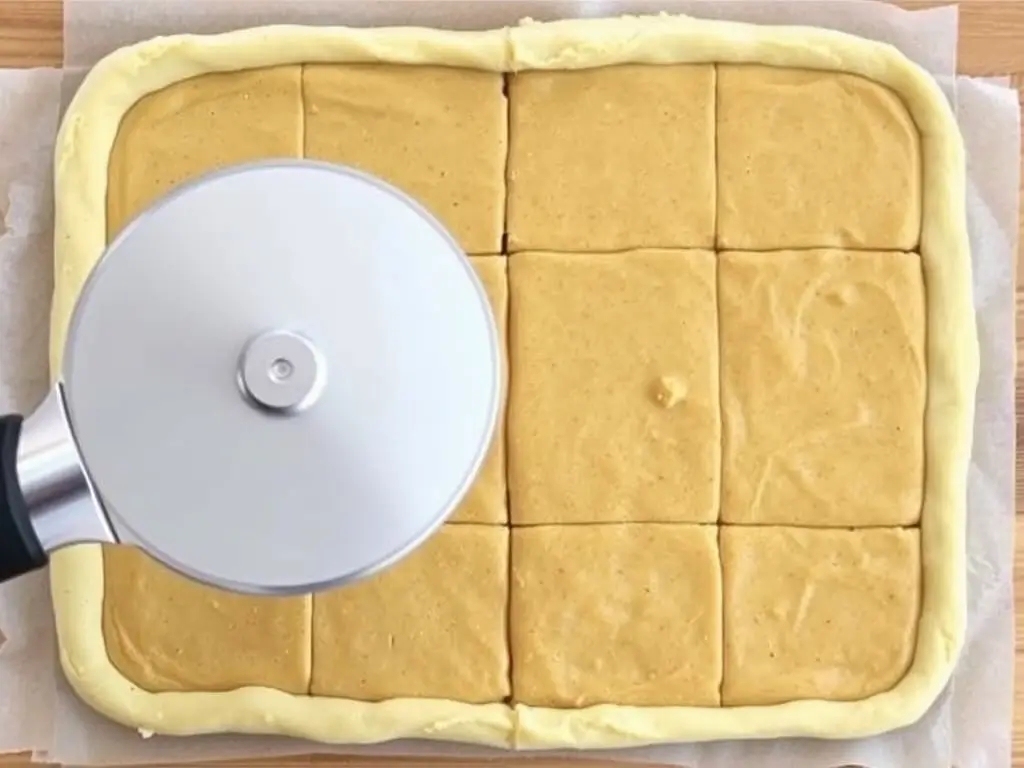
Line a half-sheet baking pan (18×13 inches) with parchment paper. Spread the batter evenly across the pan, going all the way to the edges. Remember, thinner batter equals crispier crackers!

Step 5: First Bake and Slice
Bake the batter for 30 minutes, then remove it from the oven. Use a pizza cutter or knife to slice into small squares.
Step 6: Second Bake
Place the sliced crackers back in the oven for another 20-25 minutes until they’re golden brown and crispy.
Step 7: Cool and Store
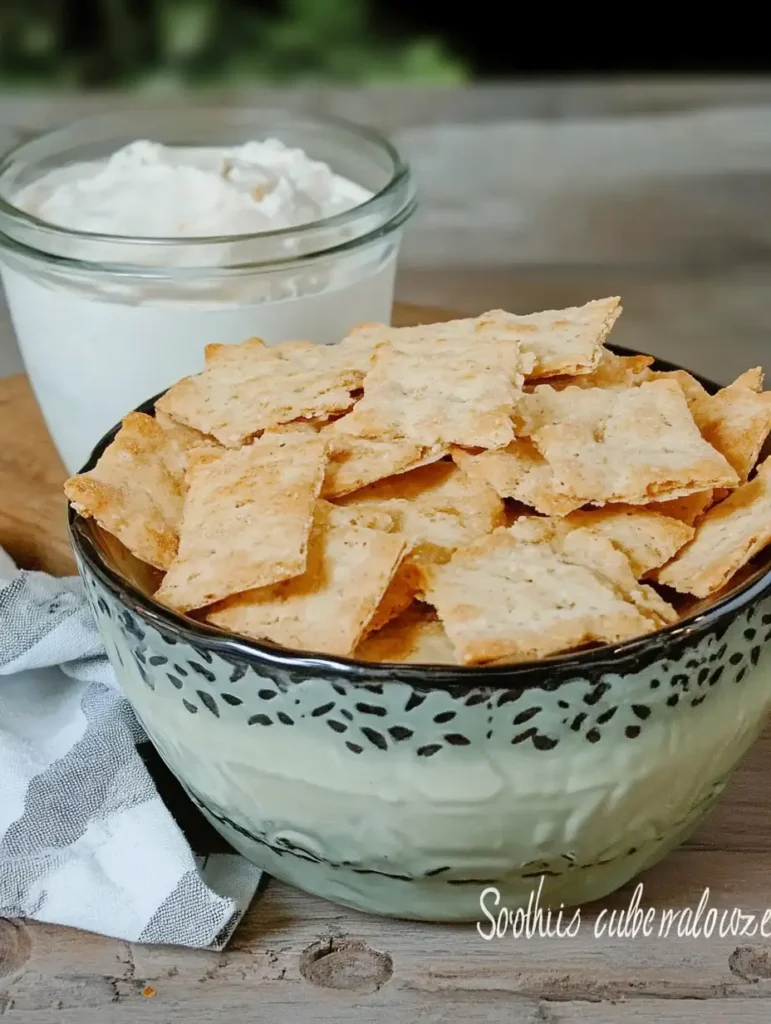
Turn off the oven, crack the door open, and let the crackers cool inside to dry out and achieve maximum crispiness. Once cool, store them in an airtight container.
Discover the Secrets to Making Perfect Sourdough Discard Cheddar Crackers
Learn how to craft the most addictive snack with these expert tips:
The Power of Sharp Cheddar
Sharp cheddar cheese isn’t just an ingredient—it’s the soul of these crackers. Its bold, tangy flavor stands out and gives the crackers their unforgettable cheesy taste. The aging process of sharp cheddar creates complex flavor notes that milder cheeses can’t replicate. For the best results, grate the cheese yourself instead of using pre-shredded varieties; pre-shredded cheese often contains additives that can affect the texture and flavor. If you’re feeling adventurous, mix in a touch of smoked cheddar for a subtle, smoky undertone that will elevate your crackers to gourmet status. This simple upgrade can transform a snack into an experience you’ll savor with every bite.
The Magic of Thin Batter to make a good Sourdough discard cheddar crackers
The key to perfectly crispy crackers lies in the thickness—or thinness—of the batter. Spreading the batter thinly and evenly across your baking sheet ensures consistent cooking and an irresistible crunch. A silicone spatula is an invaluable tool for achieving this uniform layer. Don’t rush this step; take your time to spread it to the very edges of the parchment paper. If you prefer extra crispy crackers, aim for a paper-thin spread, but keep in mind that thinner layers may bake more quickly. This small adjustment will make a significant difference in the final texture, ensuring your crackers are light, crispy, and utterly addictive.
Low and Slow Baking
Baking these crackers at 300°F might seem slow, but it’s the secret to perfection. Low and slow cooking allows the batter to dehydrate evenly, transforming into golden, crispy squares without the risk of burning. The gradual baking process develops a deep, roasted flavor that complements the sharp cheddar beautifully. While it may be tempting to crank up the heat to save time, resist the urge—these crackers are worth the wait. Keep an eye on them during the second bake to ensure they reach the perfect shade of golden brown without overcooking. This patient approach guarantees crackers with the ultimate balance of crunch and flavor.
The Art of Mid-Bake Slicing
Slicing your crackers mid-bake is a game-changer for achieving perfectly shaped squares. After the initial 30-minute bake, the batter will have firmed up enough to cut cleanly without sticking to your pizza cutter or knife. This step ensures every cracker is uniform in size, which not only looks great but also helps them bake evenly. For the cleanest cuts, press firmly and use a sharp blade. If you like bite-sized snacks, make smaller squares; for a bolder crunch, cut larger rectangles. Taking the time to slice them evenly will give your crackers that polished, professional appearance that makes them feel as good as they taste.
Cooling in the Oven
The final phase of cracker perfection happens after the baking is done. Turning off the oven, cracking the door open, and letting the crackers cool inside allows them to dry out completely. This drying process is critical for achieving that signature crunch. The residual heat helps draw out any remaining moisture, while the gradual cooling prevents sudden temperature changes that could cause them to soften. Patience is key here—let the crackers rest until they’re completely cool before transferring them to an airtight container. This step not only enhances their crispiness but also ensures they stay crunchy for days to come.
Experiment with Flavors
While sharp cheddar is the star of this recipe, you can have fun experimenting with flavors to make these crackers your own. Try adding a teaspoon of smoked paprika for a warm, smoky undertone or a dash of cayenne for a spicy kick. Herbs like rosemary or thyme can bring an earthy sophistication, while a sprinkle of everything bagel seasoning turns them into a savory sensation. The possibilities are endless, so don’t be afraid to get creative. Customizing the flavors is a great way to surprise your taste buds and keep this recipe feeling fresh and exciting every time you make it.
Parchment Paper is a Must
Parchment paper is your best friend when making these crackers. It not only prevents the batter from sticking but also ensures even baking by providing a uniform surface for the heat to distribute. Plus, it makes cleanup effortless—a win-win! Skipping this step could lead to frustration, as the batter might cling to the pan and ruin your crackers. If you don’t have parchment paper, a silicone baking mat is an excellent alternative. Whichever option you choose, ensure your baking sheet is fully covered to guarantee easy removal and perfectly crisp crackers every single time.
Storage Tips
Storing these crackers properly ensures they stay fresh and crispy for days. Once they’re completely cooled, transfer them to an airtight container to lock out moisture. For added freshness, you can include a silica gel packet or a small piece of paper towel to absorb any humidity. If your crackers lose their crunch over time, a quick reheat in a 200°F oven for 5-7 minutes will bring them back to life. Proper storage not only extends the shelf life of your crackers but also guarantees that every bite remains as satisfying as the first.
Pairing Ideas
These crackers are versatile enough to pair with almost anything. Serve them alongside creamy spinach artichoke dip, spicy buffalo chicken dip, or classic hummus for a snack platter that will wow your guests. They’re also excellent with hearty soups like tomato bisque or broccoli cheddar, where their crisp texture provides a delightful contrast. For an elevated experience, try them with gourmet cheeses and cured meats on a charcuterie board. Their rich, cheesy flavor complements both savory and sweet pairings, making them a crowd-pleaser at any gathering.
Conclusion
Making Sourdough Discard Cheddar Crackers is not just about creating a snack—it’s about crafting an experience. From the careful preparation to the mouthwatering aroma of cheddar wafting through your kitchen, every step brings joy and anticipation. These crackers are more than a treat; they’re a way to connect with your creativity and indulge in something homemade and wholesome. Whether you enjoy them fresh out of the oven or share them with loved ones, these crackers will leave everyone craving more.
Why I Love Making These Crackers
There’s something so rewarding about using sourdough discard to create something so delicious. These crackers are not only a fantastic snack but also a way to reduce waste in your kitchen—double win!
Serving Suggestions and Sides
Pair these crackers with creamy spinach dip, tomato soup, or a classic charcuterie board. They also make an amazing crunchy topping for salads!
Leftovers
Store your crackers in an airtight container, and they’ll stay fresh for up to a week. Re-crisp them in a 200°F oven if needed.
Frequently Asked Questions
Can I use salted butter?
Absolutely! Just reduce the added salt slightly to balance the flavor.
Can I substitute the cheddar cheese?
Yes, Parmesan or Gouda can add a unique twist.
How do I prevent soggy crackers?
Ensure the batter is spread thinly and cooled properly in the oven.
For more recipes, check out our Sourdough English Muffins or Sourdough Cinnamon Rolls !
If you enjoyed this recipe, we’d love to hear from you! Feel free to send us your thoughts or any questions you may have by visiting our Contact Us page.
1 thought on “How to Make the Crispiest Sourdough Discard Cheddar Crackers”