Introduction
Every time I make sourdough pierogi, it feels like a warm hug from the past. The tangy aroma of sourdough discard mixing with the creamy richness of the Greek yogurt takes me back to cozy afternoons in my grandmother’s kitchen. She’d roll out her dough with such love, and I’d sneak little scraps to nibble on. I know you’re going to love this recipe just as much as I do! Whether it’s your first attempt or you’re a pierogi pro, this sourdough pierogi dough recipe will elevate your game. Let’s dive into this delicious journey together!
Ingredients of Sourdough Pierogi
Here’s what you’ll need to create this magical pierogi dough. I’ve included a few notes to help make your dough even better!
| Ingredient | Amount |
|---|---|
| Sourdough discard (just a touch of that tangy goodness!) | 60g |
| Plain Greek yogurt (instead of sour cream) | 83g |
| Your favorite pierogi filling (go wild here; the dough’s the real hero!) | As needed |
Personal Note: I love adding a sprinkle of fresh dill or rosemary to the dough for an aromatic twist. Trust me, it’ll make your pierogi smell incredible!
Cooking Steps to make Sourdough Pierogi
What is a Pierogi?
Pierogies are tender dumplings filled with all sorts of deliciousness. Traditionally hailing from Eastern Europe, they’re a comforting combination of pillowy dough and savory or sweet fillings. Imagine biting into golden, pan-fried perfection, and you’ll understand why pierogies are beloved worldwide.
Step-by-Step Guide
Step 1: Mix & Chill
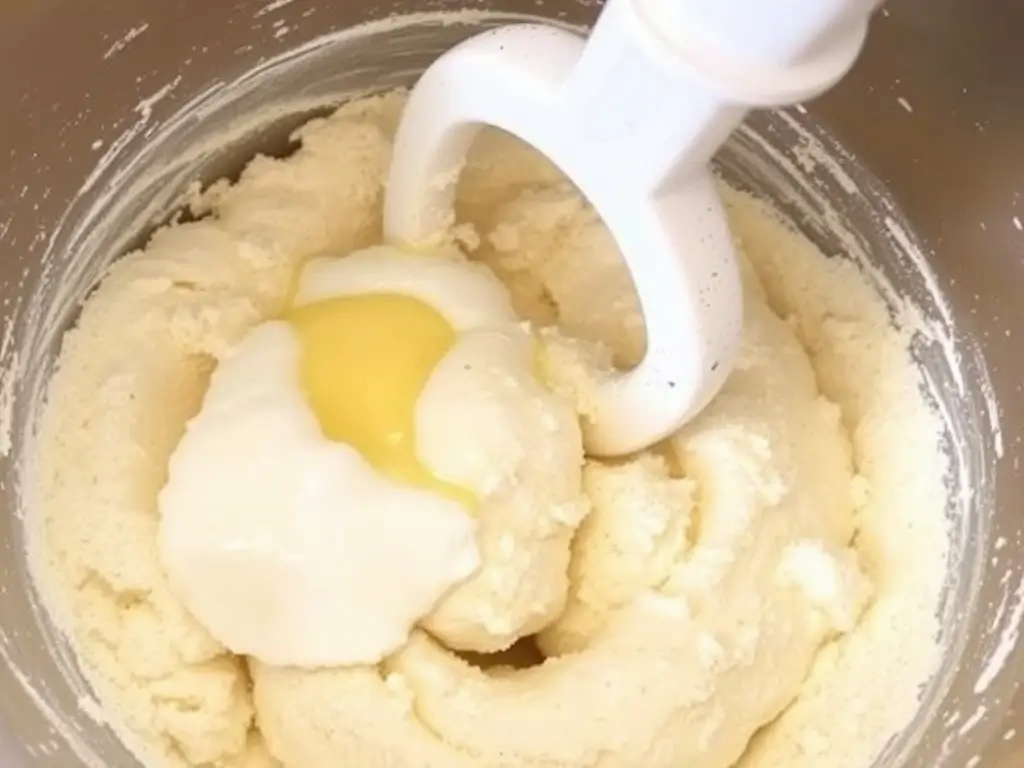
Combine your sourdough discard and Greek yogurt with the rest of your pierogi dough ingredients (basic flour, egg, and salt if using a standard dough recipe). Stir until you get a smooth, stretchy dough.

Step 2: Overnight Rest
Let that dough nap overnight in the fridge. This is the key! It’ll be so much easier to work with in the morning.

Step 3: Roll It Out
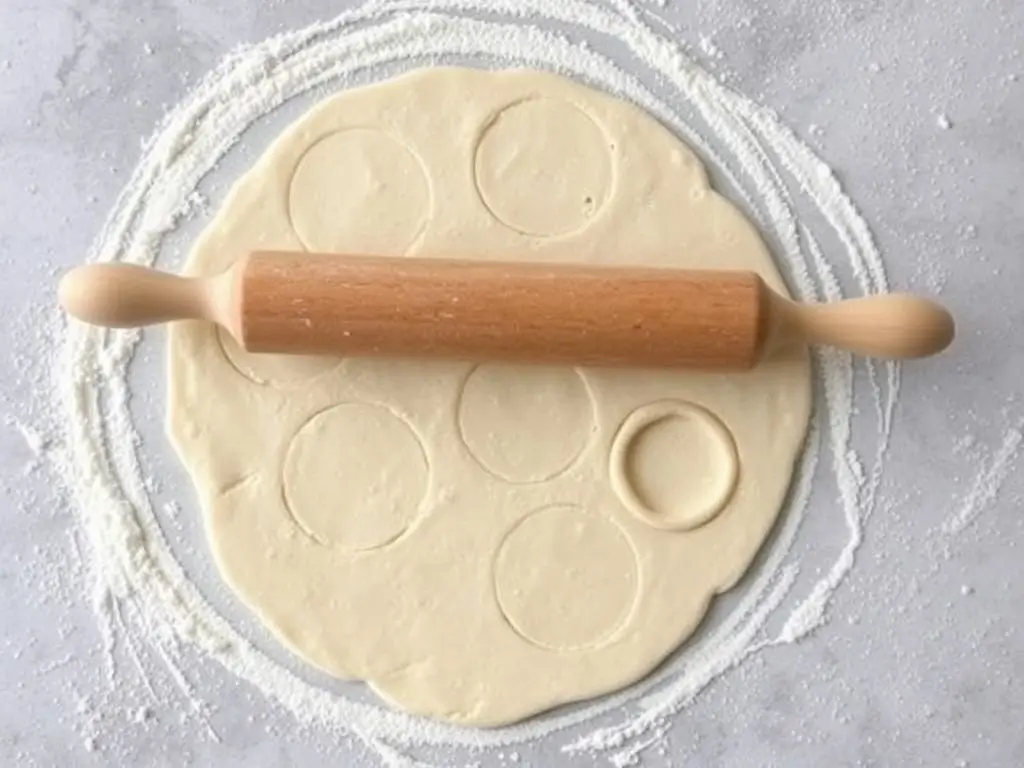
Roll out your dough nice and thin. It barely needs flour now—it’s behaving beautifully! Cut out your circles and fill them with whatever your heart desires.

Step 4: Cook or Freeze
Want to save some for later? Freeze a batch, and they’ll be ready to go whenever you’re craving pierogi. If cooking, boil until they float, then pan-fry for that golden edge.

Step 5: Serve
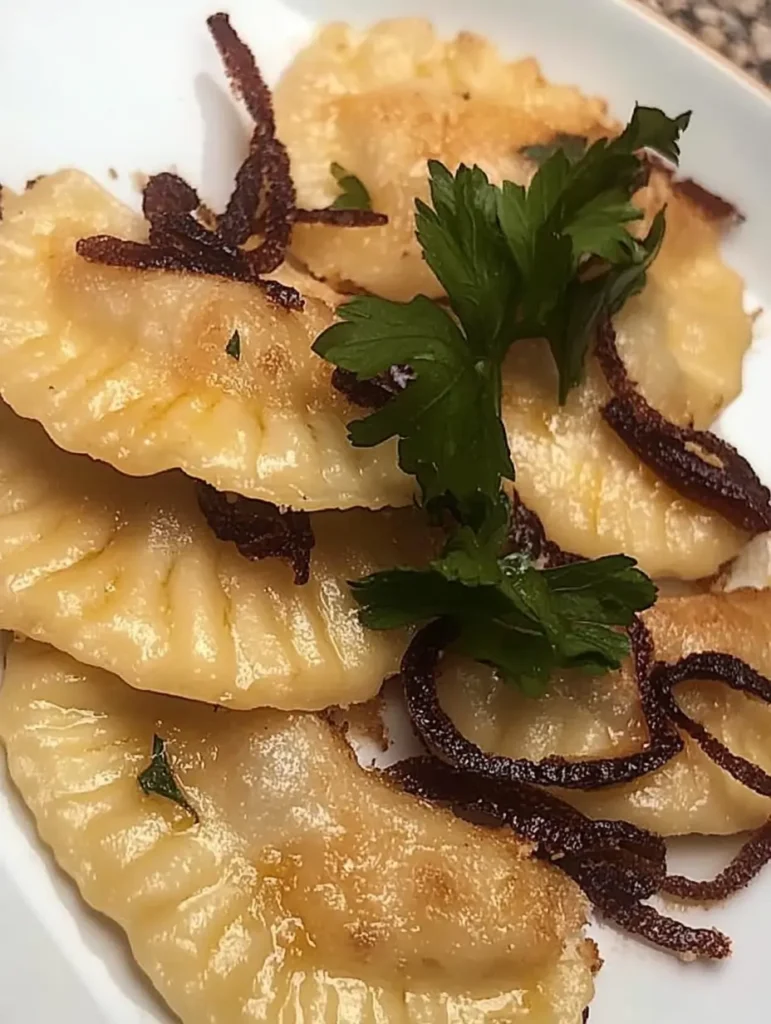
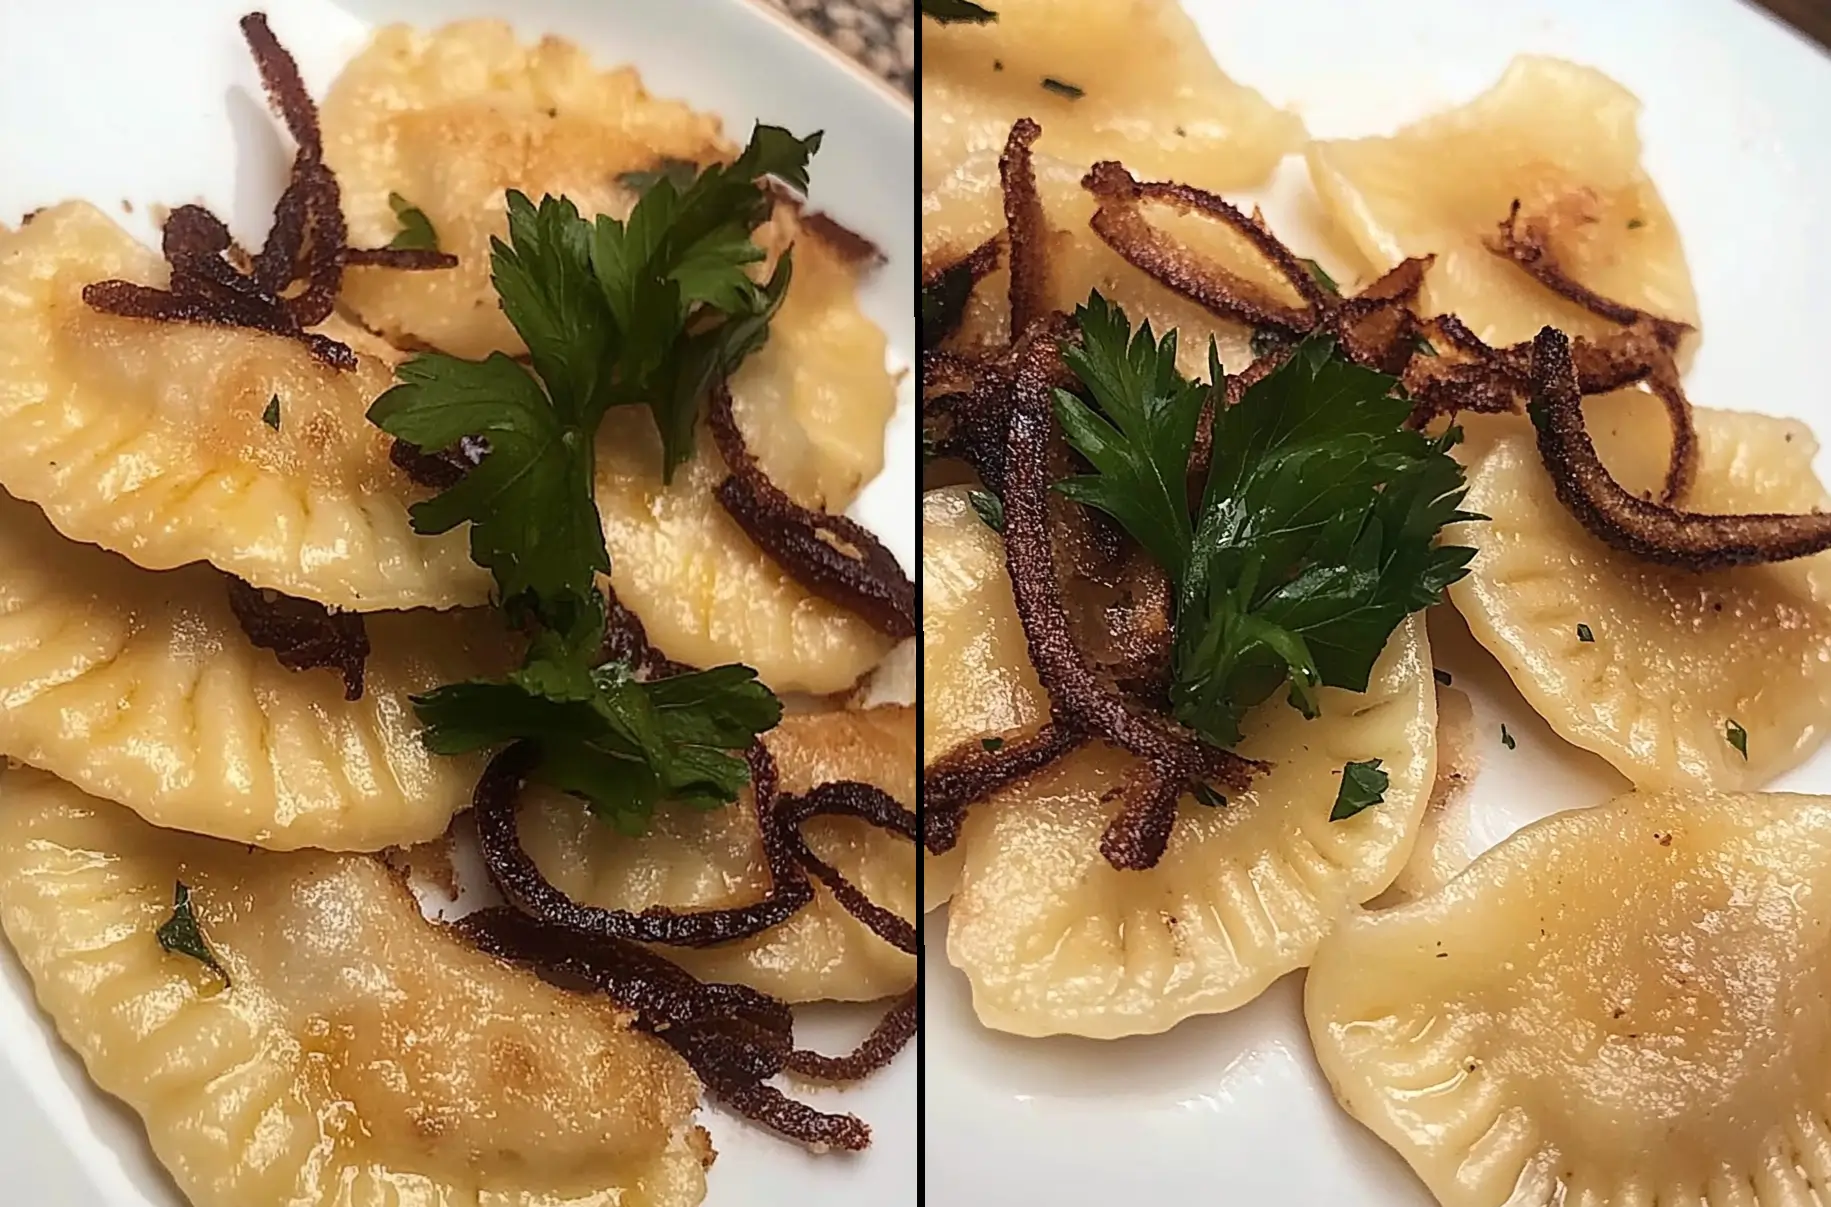
Plate up with a dollop of sour cream, caramelized onions, or any of your favorite toppings, and dig in!

Discover the Secrets to the Perfect Sourdough Pierogi
Why I Love Making This Dish
There’s something magical about working with sourdough. The tangy depth it adds to pierogi dough elevates it to something truly special. Every time I cook this dish, it feels like I’m connecting to my roots while creating new memories.
What You’ll Need
You’ll need basic kitchen tools like a rolling pin, a round cutter, and a large pot for boiling. A skillet for frying is also a must—golden edges are non-negotiable!
1. Choosing the Right Sourdough Discard
Not all sourdough discard is the same. Choose one that’s lively and slightly tangy to enhance the depth of your pierogi dough recipe. The tanginess from a healthy discard perfectly complements the creamy filling, creating a balanced bite every time. If you’re new to sourdough, try using a discard that’s been fed recently—it’ll give your dough a bit of elasticity and character.
2. Perfecting Your Dough Consistency
The secret to a great pierogi dough is in the consistency. It should feel smooth, soft, and elastic under your hands. If the dough feels too dry or stiff, add a teaspoon of water at a time to loosen it up. If it’s overly sticky, sprinkle a little flour while kneading. Remember, a well-balanced dough is forgiving and easy to roll out, ensuring your pierogies hold their shape beautifully during cooking.
3. The Importance of Resting the Dough
Resting the dough isn’t just about taking a break. It’s an essential step for enhancing flavor and achieving the perfect texture. During this time, the sourdough discard works its magic, developing tangy undertones while the gluten relaxes, making the dough more pliable. Overnight chilling also reduces stickiness, so your rolling process becomes effortless. Trust me, it’s worth the wait!
4. Cutting Your Circles
Cutting perfect circles for your pierogies is an art in itself. A standard drinking glass or biscuit cutter works wonders, creating uniform shapes for consistent cooking. Aim for circles about 3 inches in diameter—this size holds a generous amount of filling without breaking. If you love experimenting, try making mini pierogies for appetizers or larger ones for a hearty meal.
5. Mastering the Fill and Seal
Filling and sealing pierogies is a step where creativity meets precision. Use about a teaspoon of filling for each circle, placing it slightly off-center. Gently fold the dough over and press the edges together, ensuring a tight seal to prevent leaks during cooking. For a decorative touch, use a fork to crimp the edges—it adds charm and an extra layer of security.
6. Cooking Tips for Tender Pierogies
Cooking pierogies to tender perfection starts with boiling. Drop them gently into a large pot of salted, simmering water and wait for them to float—that’s their signal that they’re done. Don’t overcrowd the pot; cook in batches if necessary. After boiling, drain them carefully to avoid tearing, then finish them off with a quick sauté in butter for a golden, crispy finish.
7. Achieving the Golden Brown Finish
Golden brown pierogies are a thing of beauty, and the secret lies in pan-frying. Heat a generous pat of butter in a skillet until it sizzles, then add your boiled pierogies. Fry them in small batches, turning occasionally to ensure even browning. The result? A crispy, buttery crust that pairs perfectly with the soft, flavorful filling inside.
8. Serving Like a Pro
Serving pierogies is where you can let your creativity shine. Arrange them on a platter with a dollop of sour cream in the center, surrounded by caramelized onions and freshly chopped herbs. For a hearty meal, add slices of kielbasa and a tangy side of sauerkraut. The vibrant mix of colors and textures makes for an irresistible plate.
9. Storing and Reheating
Proper storage keeps your hard work intact. Once cooled, place leftover pierogies in an airtight container and refrigerate for up to three days. To reheat, skip the microwave—it can make them soggy. Instead, pan-fry them straight from the fridge for a crispy, freshly-made feel. For long-term storage, freeze uncooked pierogies in a single layer, then transfer them to a freezer bag once solid.
10. Conclusion: Create Memories That Last
Making sourdough pierogies is more than a cooking endeavor—it’s an experience filled with love and tradition. Every step, from rolling the dough to serving them on a plate, carries a piece of history and a promise of comfort. Whether you’re sharing them with family or enjoying a quiet meal alone, these pierogies bring a sense of warmth and joy that lasts well beyond the last bite.## Serving Suggestions and Sides
Wondering what to serve with pierogies? Try pairing them with smoked kielbasa, roasted Brussels sprouts, or even a tangy cabbage slaw. The mix of textures and flavors will take your meal to the next level!
FAQ
What are pierogies?
Pierogies are dumplings filled with savory or sweet fillings, traditionally boiled and pan-fried for a delightful texture.
What is a pierogi?
A pierogi is a traditional Eastern European dumpling filled with ingredients like potatoes, cheese, or fruit.
What to serve with pierogies?
Serve pierogies with sour cream, caramelized onions, or alongside kielbasa and roasted vegetables for a complete meal.
Conclusion
This sourdough pierogi recipe is a game-changer. The combination of tangy, tender dough with your favorite fillings is unbeatable. I can’t wait for you to try it and create your own special memories. Let me know how it turns out—and if you’re like my family, don’t be surprised if everyone asks for seconds!
For more homemade recipes, check out our Sourdough Discard Sandwich Bread !
If you enjoyed this recipe, we’d love to hear from you! Feel free to send us your thoughts or any questions you may have by visiting our Contact Us page.

